This post is for those of you who, like me, dabble in the self-hosting and Docker domains but are far from “professionals” in them either. Through some trial and error, I got ChangeDetection (CD for short) up and running with Playwrite, which, if you’ve tried doing it, is not exactly straightforward.
The addition of Playwrite with CD enables us to introduce browser actions, allowing it to simulate your actions and locate precisely what you’re looking for on a site. For example, let’s say you have a site that you need to login to see the changes you want CD to note, browser action allow you to do just that, you show CD what to do, and it mimics those action each time it checks. There are a ton of other things you can do, too, but for those, I suggest you check out the tutorials on the ChangeDetection website.
Assumptions
I assume you have Docker installed. And for awareness, I’m also using Linux (Ubuntu 24.04 LTS) for my install.
Many of the tutorials out there have you start CD via an inline Docker command. However, we will be using a Docker Compose file (.yml) for our adventure.
The Steps
One
For me, I create folders on my home drive, so when I open up terminal and log in, either via SSH or direct, I’m looking atryan@home:~$
Let’s create a folder to house our compose and an environment/environmental (.env) file,sudo mkdir changedetection
You can call yours what you will, but I’ve found that keeping it simple keeps it simple. Let’s move into that folder to start working.cd changedetection
Two
We will create two files in this folder: docker-compose.yml and .env. We can create both with one command,sudo touch docker-compose.yml && sudo touch .env
To ensure they’re both there, use la to view. If you use “ls”, you won’t be able to see the .env file, as the period at the beginning makes it a “hidden” file.
Three
I use nano to work with text files in the terminal. Let’s open our compose file first,sudo nano docker-compose.yml
Below is the compose file I’m using; in short, it combines the three images we need for a full-powered CD install: CD itself, Sockpuppet, and Selenium.
As an aside, if you, like me, need to update any ports, be sure you only update the first port before the colon (:) (e.g., 5001:5000, you would only update the 5001 if needed.) You’ll see that under the Sockpuppet section, I had to update my port to 3003 (3003:3000) because I have other services running on ports 3000, 3001, and 3002. Normally it would be 3000:3000.
Here is my compose file,
services:
  changedetection:
    image: ghcr.io/dgtlmoon/changedetection.io
    container_name: changedetection
    hostname: changedetection
    volumes:
      - changedetection-data:/datastore
    environment:
      - PORT=5000
      - LOGGER_LEVEL=TRACE
      - PLAYWRIGHT_DRIVER_URL=ws://browser-sockpuppet-chrome:3000?token=${BROWSERLESS_TOKEN}
      - WEBDRIVER_URL=http://browser-selenium-chrome:4444/wd/hub
      - HIDE_REFERER=true
      - FETCH_WORKERS=10
      - MINIMUM_SECONDS_RECHECK_TIME=3
      - ALLOW_FILE_URI=False
      - DISABLE_VERSION_CHECK=true
      - TZ=America/Phoenix
    ports:
      - 5000:5000
    restart: unless-stopped
    depends_on:
      browser-sockpuppet-chrome:
        condition: service_started

  browser-sockpuppet-chrome:
    hostname: browser-sockpuppet-chrome
    image: dgtlmoon/sockpuppetbrowser:latest
    cap_add:
      - SYS_ADMIN
    restart: unless-stopped
    environment:
      - TOKEN=${BROWSERLESS_TOKEN}
      - SCREEN_WIDTH=1920
      - SCREEN_HEIGHT=1024
      - SCREEN_DEPTH=16
      - MAX_CONCURRENT_CHROME_PROCESSES=10
    ports:
      - 3003:3000  # Exposes Sockpuppet on host:3003 → container:3000

  browser-selenium-chrome:
    hostname: browser-selenium-chrome
    image: selenium/standalone-chrome:4
    environment:
      - VNC_NO_PASSWORD=1
      - SCREEN_WIDTH=1920
      - SCREEN_HEIGHT=1080
      - SCREEN_DEPTH=24
      - CHROME_OPTIONS=--window-size=1280,1024 --headless --disable-gpu
    volumes:
      - /dev/shm:/dev/shm
    ports:
      - 4444:4444  # Exposes Selenium on host:4444 → container:4444
    restart: unless-stopped

volumes:
changedetection-data:Things you may want to update within are:
- Your timezone (list of the TZ entries). I live in Phoenix, AZ, so mine is
- TZ=America/Phoenix - Under the Sockpuppet image, you may update the ports to be 3000:3000; recall that I noted mine is 3003. You can leave it as is, too.
Once you’ve made any edits you want to make, close nano viaCtrl+X,Y, andEnter/Return
Four
We now turn to the .env or environment file. This is a two-step process.
- First, we’ll get a randomly generated number, and
- Then we will add this number to a line within our
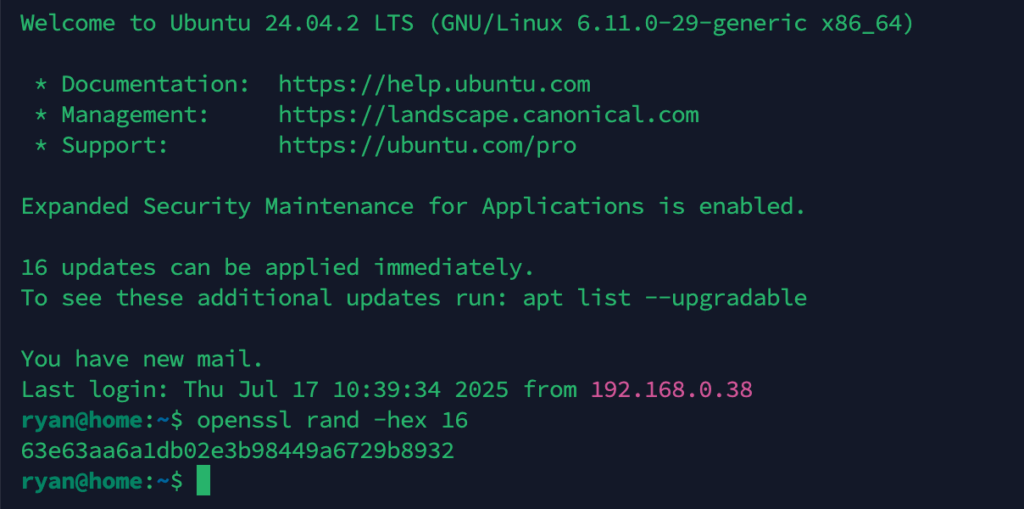
.envfile. This number is actually a “token,” which is required for Playright to function properly. Let’s randomly generate a number with,openssl rand -hex 16
You’ll see in the image below that it gave me 63e63aa6a1db02e3b98449a6729b8932. This isn’t the one I use, I’m just showing you as an example.
We’ll now open our .env file withsudo nano .env
And within, we’ll add the followingexport BROWSERLESS_TOKEN=$([your random number here])
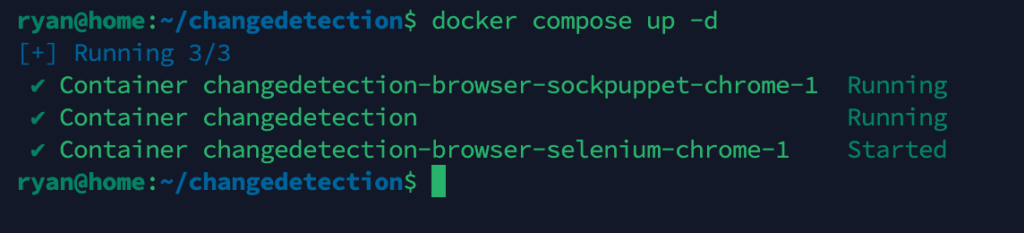
We’ll save this session via Ctrl+X, Y, and Enter/Return. We are now ready to start up our instance of ChangeDetection. Again, I assume you have Docker installed. Let’s bring it up with docker compose up -d or, depending on your Docker variant, it may be docker-compose up -d.
This is what it should look like from the terminal once it’s downloaded all of your images
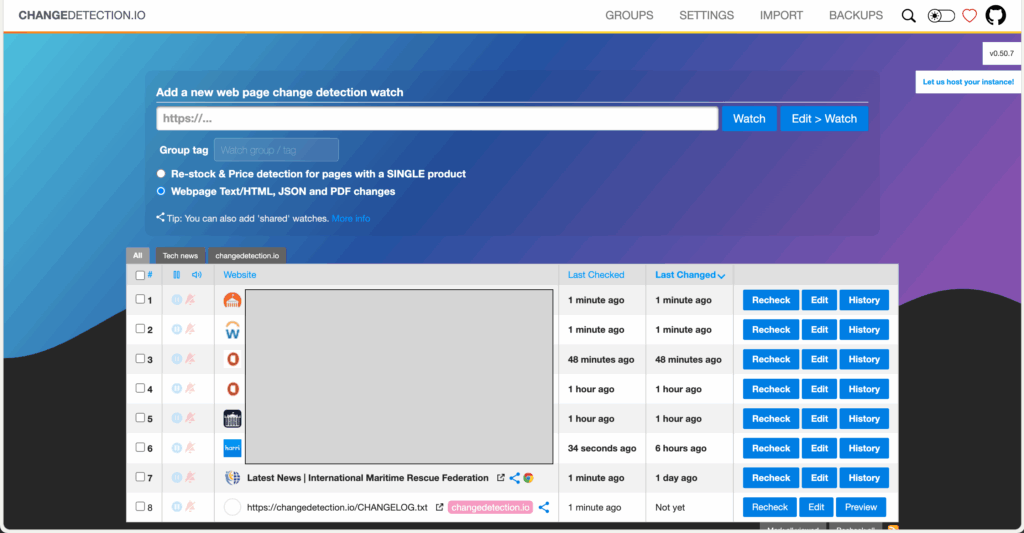
You should now be able to visit your instance at http://localhost:5000; for me, that’s http://192.168.0.83:5000, and this is what I get:
This isn’t a how-two for using ChangeDetector, for that, you may want to read the official website, there is far more on there than I want to try to replicate.
If you have any questions, as away and I’ll see what I can answer.
0 Comments